A roof hatch is easy to integrate into both existing and new buildings, offering excellent insulation while preserving the building's original appearance. In this article, you can read about the installation process and watch an installation video.
Installation: Easier and More Affordable than a Roof House or Roof access structure
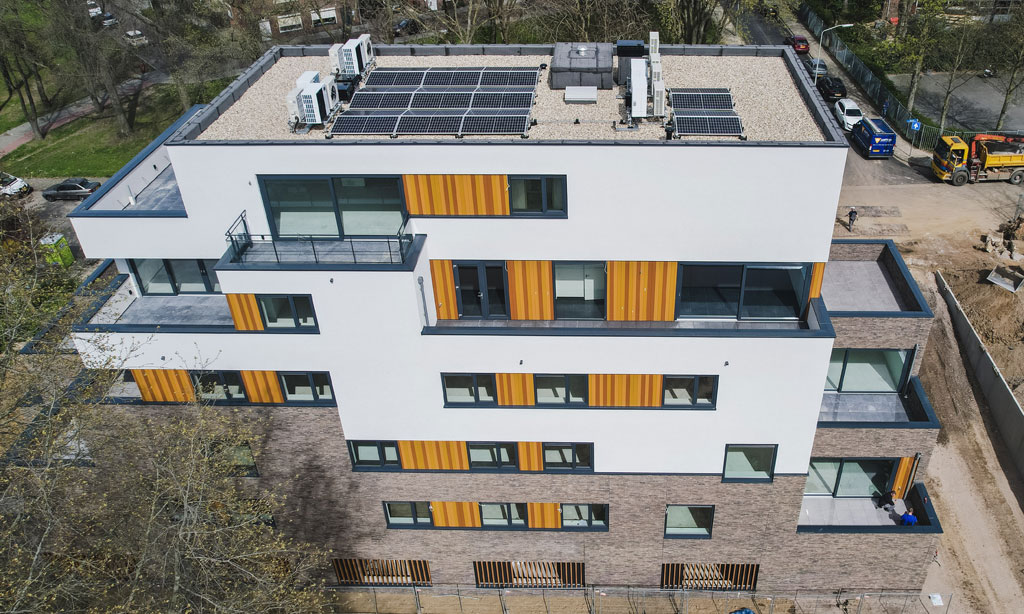
Traditionally, roof access is often realized through a roof house, an additional rooftop structure with a door. However, adding such a floor can make permits more complex and change the building's appearance.
Have you ever thought about a roof hatch? With this, you can achieve roof access without adding an extra floor. A roof hatch is easy to integrate into both existing and new buildings, offers excellent insulation, and preserves the original appearance of the building.
The Installation of a Gorter Roof Hatch
A Gorter RHT roof hatch with a closed cover is suitable for installation in flat roofs with a maximum pitch of 30°. A glazed roof hatch, type RHTG, can be used in roofs with a maximum pitch of 5°. All Gorter roof hatches are delivered fully assembled and "ready to install." Watch the installation process in the video below.
The installation consists of the following steps:
Step 1: Prepare and create the roof opening
Check the contents of the package:
Ensure that all materials, including the mounting clips, have been delivered and refer to the provided manual.
Check the dimensions:
Make sure that the dimensions of the roof opening, including the trim, match the internal dimensions (day size) of the roof hatch.
Create the opening:
Cut the opening in the roof, considering the trim that will be added later, and ensure that the cut is square.
Step 2: Raise or not raise the curb
Ensure that the distance between the roof hatch's water seal and the top of the roof finish is approximately 80 mm. If necessary, raise the position of the roof hatch by placing beams beneath it. This ensures there will be enough space later to easily install the roofing membrane.
Step 3: Secure the roof hatch and test the closure
Check the position of the roof hatch:
Ensure that the roof hatch is properly placed and level, and check the locking mechanism before screwing the roof hatch into place.
Secure the roof hatch:
Use the supplied mounting clips to securely screw the roof hatch to the roof or to the raised curb.
Step 4: Fit roof insulation and install roofing membrane
Adjust the roof insulation:
Adjust or restore the roof insulation around the roof hatch to ensure it fits snugly and provides an effective seal.
Apply the roofing membrane:
Install the desired roofing material and ensure it fits properly under the roof hatch's water seal to prevent leaks.
Trim the interior and install the ladder, scissor stair, or fixed stairs
Install trim inside the space between the ceiling and the roof hatch. Ensure that any ladder, scissor stair, or fixed stair to be used fits properly with the roof hatch, keeping the distance between the last step and the curb edge minimal. Also, check that the direction of the grab handle in the roof hatch's lid matches the direction of the climbing equipment and adjust it if necessary. This ensures proper safety and consistent support when accessing the roof.
Architect Information: Specifications and REVIT Drawings
Are you ready to include a Gorter roof hatch in your specifications or design? As an architect, you can easily download specifications, BIM (Revit), AUTOCAD, and PDF drawings from the Gorter website.
Want to learn more about Gorter roof hatches and combinations?
View all CE(ETA)-certified roof hatch models via the following link. You can also contact a Gorter advisor directly or request a quote using the following link.


